Connect to macOS via RealVNC Viewer
With RealVNC Viewer, connecting to your Mac in the cloud is easier than ever. While for macOS users, we recommend using the builtin Screen Sharing application, RealVNC Viewer is a great alternative for Windows and Linux users.
The free version is limited to unencrypted connections, which is why we recommend using the paid version, or using an SSH tunnel as outlined below. However, to keep things simple, we will cover the free version in this tutorial.
One limitation with the VNC protocol used by RealVNC Viewer is that it is not the fastest protocol. Therefore, we recommend using Jump Desktop for a smoother experience.
Installing RealVNC Viewer
Click here to download RealVNC Viewer for your operating system.
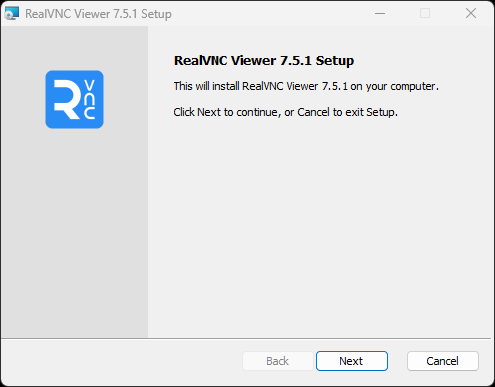
Install the application by double-clicking it an following the instructions on screen.
Connecting to your Mac
- After installation, open up the RealVNC Viewer application. You will be greeted with a screen like this:
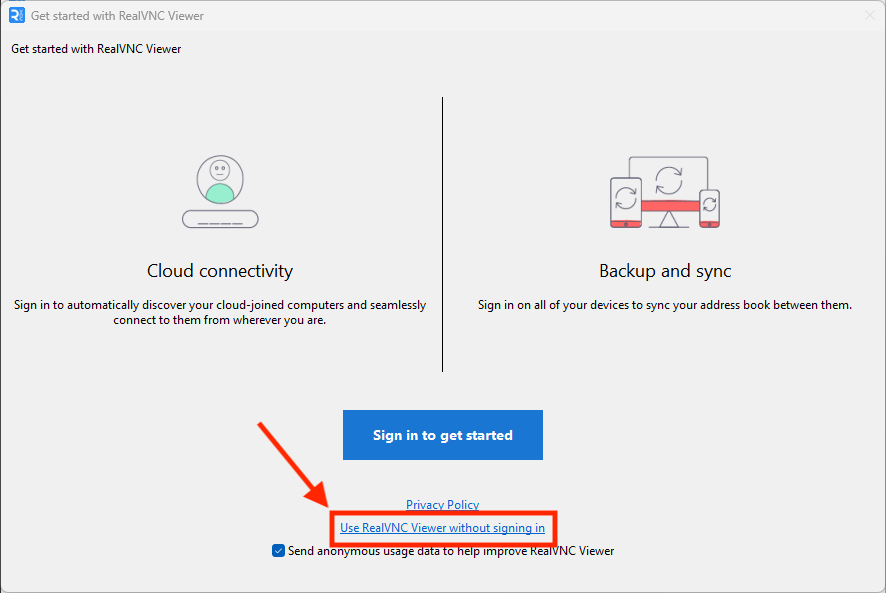
For now, click on "Use RealVNC Viewer without signing in". Of course, if you would like to create an account, you can do so as well, which allows for encrypted connections using the paid plan.
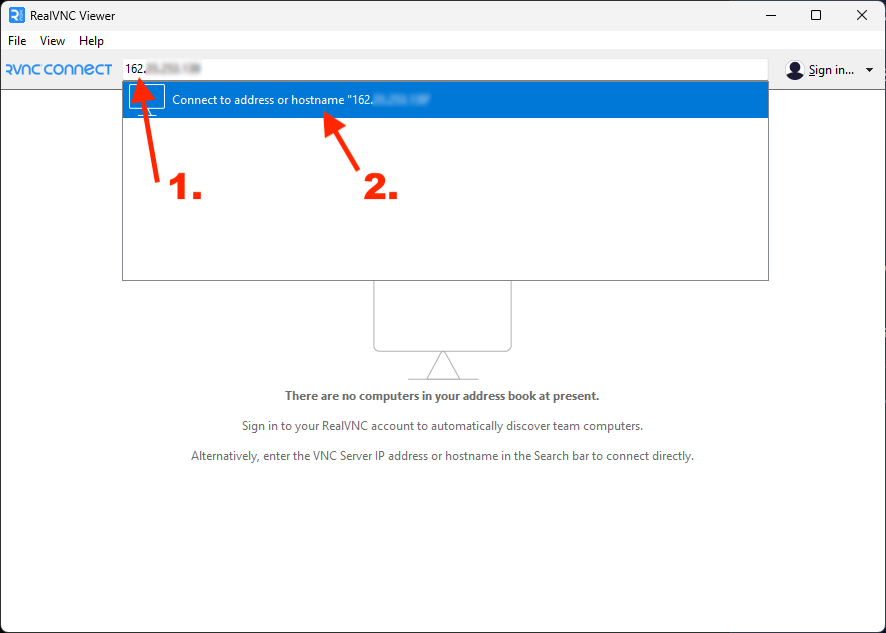
- Head over to the OakHost Customer Panel and navigate to your Mac. You will find the IP address, username and password for your Mac there.

- Copy the IP address and paste it into the RealVNC Viewer application. Then, click to connect:
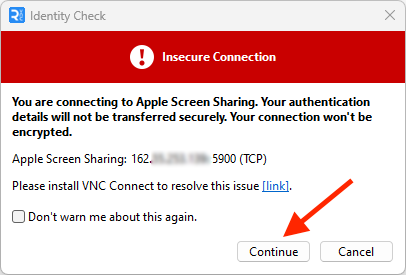
- A notice will appear, telling you that the connection is unencrypted. When using the free version, click on "Continue" to proceed. For advanced users, we recommend using an SSH tunnel to encrypt the connection. You can find instructions on how to do that below.
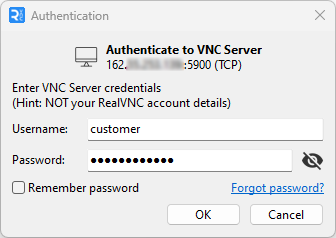
- Lastly, enter the username and password for your Mac, as seen in the Customer Panel. Then, click "OK" to connect.
- You're done! You should now see your Mac's desktop in the RealVNC Viewer application.
Troubleshooting
Error: Timed out waiting for a response from the computer
Please make sure you have entered the correct IP address. You can find the IP address in the Customer Panel as outlined above.
If you are still having trouble connecting, ensure the Firewall is disabled. You can check this in the Customer Panel as well.
Finally, if you are still experiencing timeouts, connect using the KVM module and check whether the Mac is running and the Screen Sharing service is enabled. You can find the Screen Sharing service in the System Preferences under "Sharing".
Error: An authentication error occurred
This error usually means that your login credentials are not correct. Please note that the username and password are not your RealVNC, Windows or OakHost Login credentials. The username and password to your Mac can be found in the Customer Panel as outlined above. If you have changed the password of your Mac account, use the new password instead.
If you are still having trouble connecting, please contact us and we will be happy to help you out.
Using an SSH Tunnel
If you would like to use an SSH tunnel to encrypt the connection, you can do so by following the following steps. Please note that this is an advanced feature and requires some technical knowledge, as well as having an SSH client installed on your computer.
The way this works is by creating a tunnel from your computer to your Mac, which encrypts the connection. Then, you connect to the tunnel, which forwards the connection to your Mac. This way, the connection is encrypted, even though the VNC protocol itself is not.
- First, you need to create an SSH tunnel to your Mac. To do so, open up a terminal and enter the following command:
ssh -L 5900:localhost:5900 -N customer@[ip-address]
Replace [ip-address] with the IP address of your Mac, as seen in the Customer Panel.
- To connect via SSH, enter the password for your Mac, as seen in the Customer Panel.
- Next, open up RealVNC Viewer and enter
localhostas the IP address. Then, click "Continue" to proceed. - Lastly, enter the username and password for your Mac, as seen in the Customer Panel. Then, click "OK" to connect.
- You're done! You should now see your Mac's desktop in the RealVNC Viewer application.