Settign up Jenkins on macOS + Xcode-Support
In this tutorial we will be looking at how to set up a Jenkins server on macOS. Including HTTPS support via Let's Encrypt as well as installing the Xcode plugin to help you get started with automating iOS and macOS App development.
For this installation, we will be using a hosted Mac server from OakHost since it comes with a public, static IP address (which is required for HTTPS support), as well as easy firewalling through a web interface.
All steps performed here should be identical whether you're on an Intel Mac running macOS Big Sur (or higher) or on a Apple Silicon ARM Mac.
Installing Jenkins (+Homebrew)
Jenkins needs to be installed using Homebrew, a package manager for macOS. The installation is quite straight-forward:
- Open your Terminal application or ssh into your system.
- Go to brew.sh in your browser and copy the "Install Homebrew" code.
- Paste the code into your terminal and start the installation. You should see output similar to this:
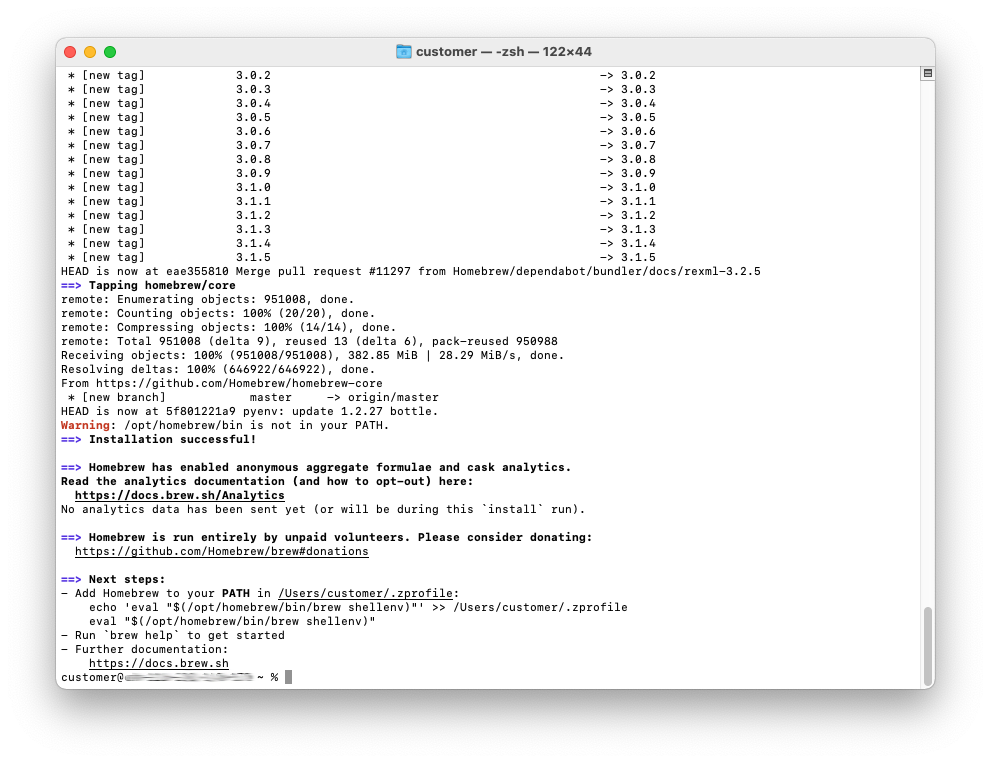
- To complete the setup, run these two lines to add brew to your path (replace
customerwith your user):
echo 'eval "$(/opt/homebrew/bin/brew shellenv)"' >> /Users/customer/.zprofile
eval "$(/opt/homebrew/bin/brew shellenv)"
Now on to installing Jenkins
Once the prerequirements are met, we can install the Jenkins server itself.
- In your Terminal or via SSH, do the following to install and start Jenkins:
brew install jenkins-lts
brew services start jenkins-lts
- In your browser, visit http://localhost:8080 to access the Jenkins setup page. Note that this URL is only accessible on the device itself. External access won't work yet (see below for more details).
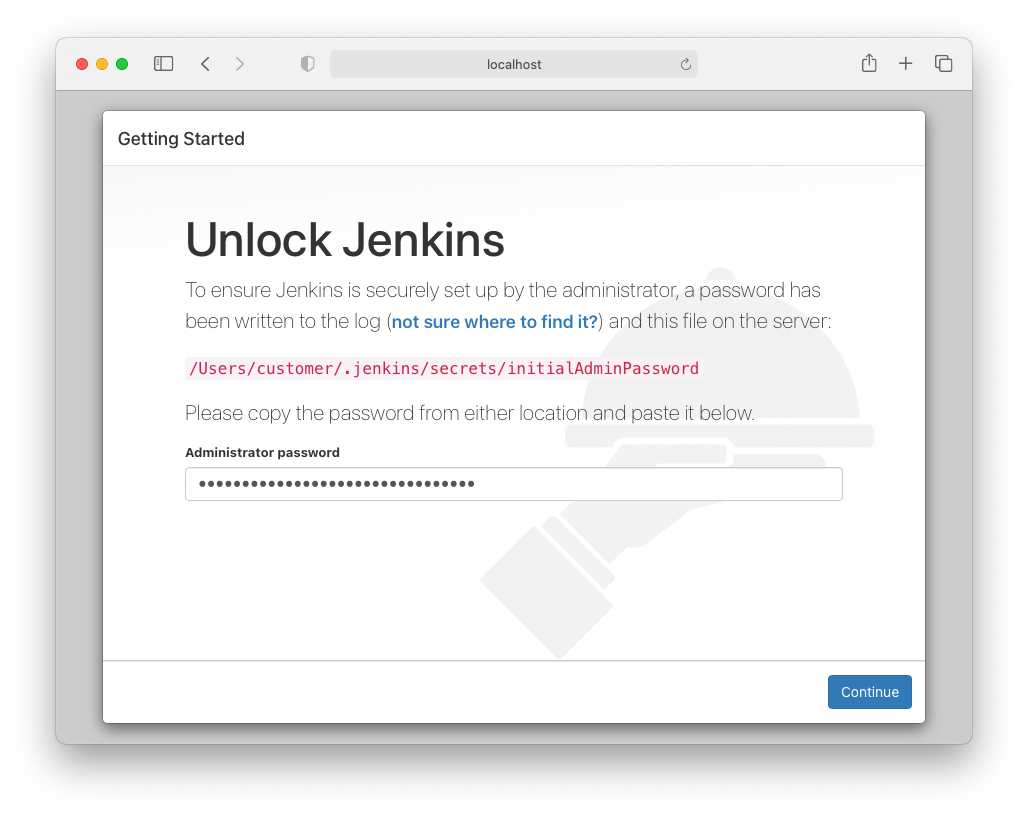
- As the screen suggests, use
cat /Users/customer/.jenkins/secrets/initialAdminPasswordto get Administrator password. Again, replacecustomerwith your user. - Copy the output into the web interface and hit
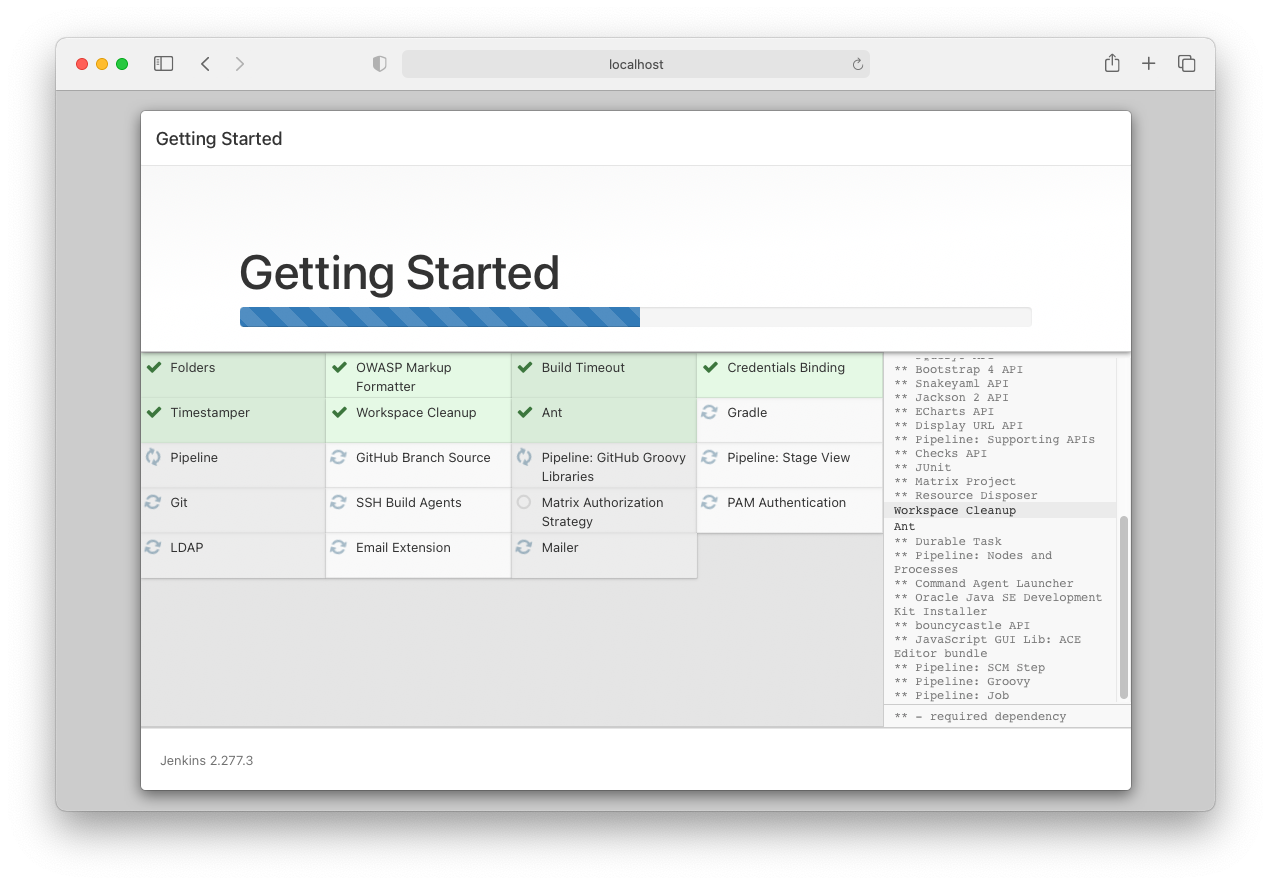
Continue. - Install all suggested plugins or choose your own plugins. Of course, you will later be able to install additional plugins.
- Create a new Admin User which you will use to sign in to your newly set up Jenkins instance. Make sure to choose a strong password here if you intend to make Jenkins publicly available.
- Lastly, enter the Jenkins URL you will be using to access it. You can leave it like this for now an change it later in the settings.
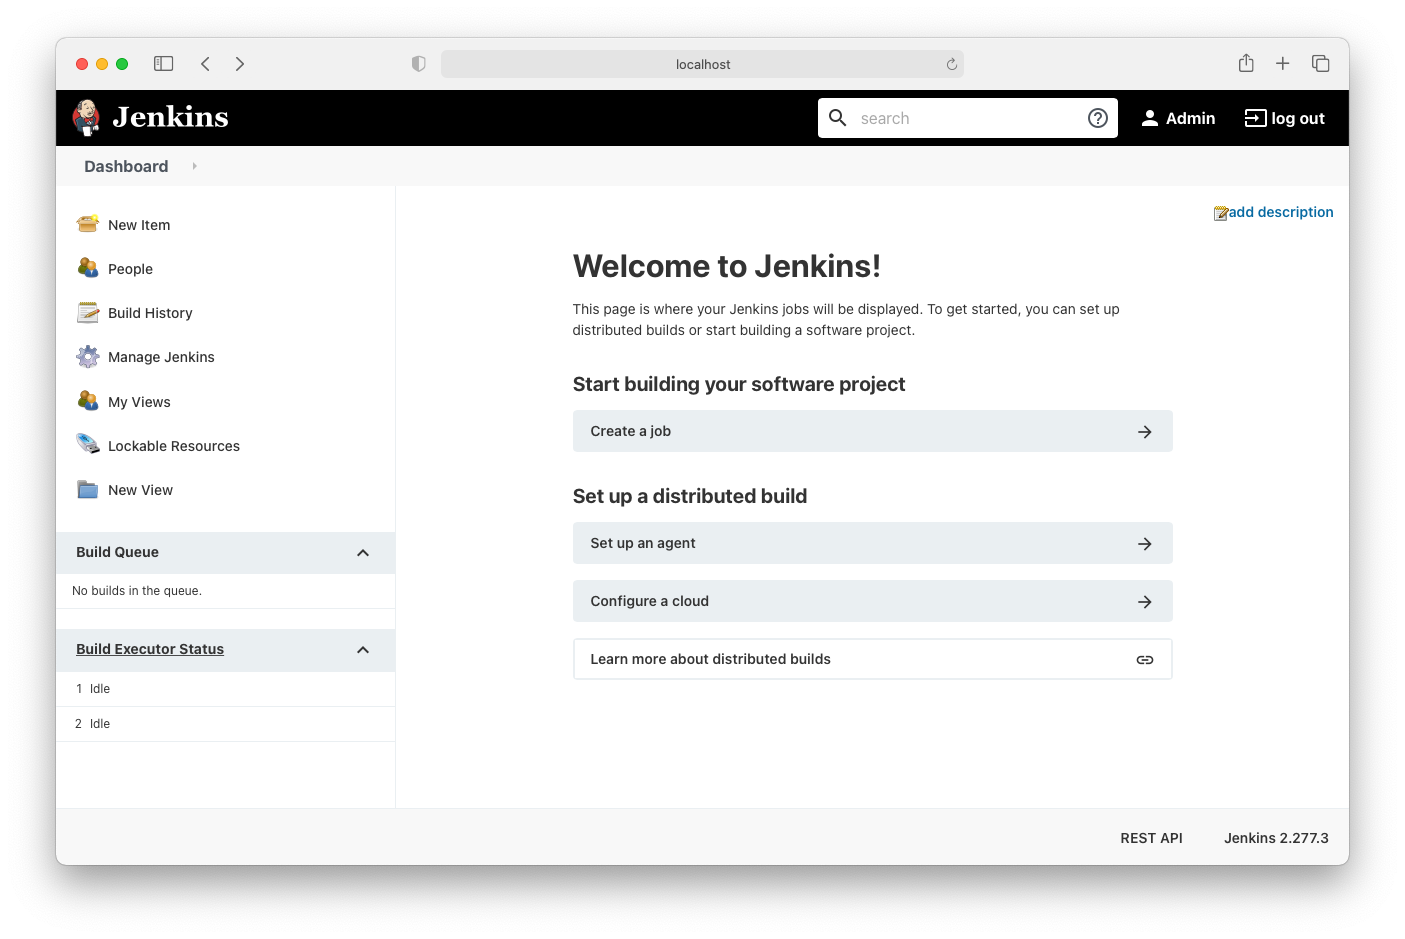
- Congratulations, you're done! Jenkins should now be up and running. Keep on reading to learn how to open up your instance for external access, add HTTPS support via Let's Encrypt and install the Xcode plugin, if needed.
Configuring Public Access
Having Jenkins be available only on localhost may be a good first step, but generally speaking, external access through a domain or IP address is desired. Luckily, changing the listen address and port is quite easy to do.
If you intend to use HTTPS on your Jenkins instance, skip this step and continue on with the section below. For this, we will be installing nginx and configure a reverse proxy setup. Therefore, direct Jenkins access should remain restricted to localhost.
- In order to let Jenkins listen on the public network interface and choose a differen Port (80, for example),
edit the following file in the editor of your choice (Replace
[your-version]with the correct Jenkins version):
/opt/homebrew/Cellar/jenkins-lts/[your-version]/homebrew.mxcl.jenkins-lts.plist
- We need to change the two lines regarding the
httpListenAddressandhttpPort. For public HTTP access, set the values0.0.0.0and80:
...
<plist version="1.0">
  <dict>
    ...
    <array>
      ...
      <string>--httpListenAddress=0.0.0.0</string>
      <string>--httpPort=80</string>
    </array>
    ...
  </dict>
</plist>
- To apply the changes to the configuration file, restart jenkins:
brew services restart jenkins-lts
- Verify the changes by opening Jenkins in the browser on an external device:
http://[public-ip]
Configure HTTPS with nginx Reverse Proxy and Let's Encrypt
To secure your Jenkins installation, it is highly recommended to enable HTTPS support. For this, you need a domain pointing to the public IP address of your Mac. We will then use this domain to enable HTTPS and make Jenkins available there.
- If you changed the plist-configuration in the previous step, revert the changes to avoid unauthorized external access.
- Install the nginx web server:
brew install nginx
- Create a configuration file called
/opt/homebrew/etc/nginx/servers/jenkins.confwith the following contents:
server {
    listen 80;
    server_name jenkins.my-domain.example;

    location / {
        proxy_pass          http://localhost:8080;
        proxy_read_timeout  90s;
        proxy_redirect      http://localhost:8080 https://jenkins.my-domain.example;
        proxy_http_version  1.1;
        proxy_cache_bypass  $http_upgrade;

        proxy_set_header Upgrade           $http_upgrade;
        proxy_set_header Connection        "upgrade";
        proxy_set_header Host              $host;
        proxy_set_header X-Real-IP         $remote_addr;
        proxy_set_header X-Forwarded-For   $proxy_add_x_forwarded_for;
        proxy_set_header X-Forwarded-Proto $scheme;
        proxy_set_header X-Forwarded-Host  $host;
        proxy_set_header X-Forwarded-Port  $server_port;
    }
}
Make sure to replace jenkins.my-domain.example with your domain name. We will add HTTPS support later on.
- Validate the newly created configuration by running:
nginx -t
- If valid, start the nginx server:
brew services start nginx
- Ensure that the required ports are allowed through your firewall. We need
80/tcpfor HTTP and443/tcpfor HTTPS to be open. With OakHost, you can simply add these using the Firewall web interface.
Deploying the SSL/TLS certificate
If you already have your own SSL/TLS certificate, you can safely skip this step and adjust the nginx configuration file directly. Otherwise, we will be using Let's Encrypt to automatically issue a free certificate.
- To do this, install certbot:
brew install certbot
- Then, request a certificate for your configured nginx domain. Make sure the DNS record correctly points to your Mac, otherwise verification will fail.
sudo certbot --nginx --nginx-server-root /opt/homebrew/etc/nginx
- Enter your email address, accept the terms and finally select the correct domain from the selection:
Which names would you like to activate HTTPS for?
- - - - - - - - - - - - - - - - - - - - - - - - - - - - - - - - - - - - - - - -
1: jenkins.my-domain.example
- - - - - - - - - - - - - - - - - - - - - - - - - - - - - - - - - - - - - - - -
Select the appropriate numbers separated by commas and/or spaces, or leave input
blank to select all options shown (Enter 'c' to cancel): 1
Requesting a certificate for jenkins.my-domain.example
Performing the following challenges:
http-01 challenge for jenkins.my-domain.example
Waiting for verification...
Cleaning up challenges
Deploying Certificate to VirtualHost /opt/homebrew/etc/nginx/servers/jenkins.conf
Redirecting all traffic on port 80 to ssl in /opt/homebrew/etc/nginx/servers/jenkins.conf

- - - - - - - - - - - - - - - - - - - - - - - - - - - - - - - - - - - - - - - -
Congratulations! You have successfully enabled https://jenkins.my-domain.example
- - - - - - - - - - - - - - - - - - - - - - - - - - - - - - - - - - - - - - - -
- Once done, certbot will have adjusted the nginx configuration file to include the newly obtained SSL/TLS certificates. Unfortunately, due to certbot running as root, the certificate file permissions are incorrectly set. A quick fix is to start nginx as root. Therefore, we first need to stop the currently running instance and then restart it using sudo:
brew services stop nginx
sudo brew services start nginx
- Once completed, access your domain
https://jenkins.my-domain.examplein the browser and verify that everything works. - Go to
Manage Jenkins->Configure Systemand update theJenkins URLto point to your new domain. Then, hitSave. - Lastly, execute the following command to set up auto-renewal for the certificate:
echo "0 0,12 * * * root python -c 'import random; import time; time.sleep(random.random() * 3600)' && certbot renew -q" | sudo tee -a /etc/crontab > /dev/null
- Done. Your Jenkins instance should now be securely accessible through HTTPS.
Setting up Jenkins Xcode Support
If you intend to do any macOS, iPadOS or iOS App development using Jenkins, chances are you want to use the provided Xcode integration plugin.
Plugin installation in Jenkins is quite simple:
- In the web interface, navigate to
Manage Jenkins->Manage Plugins. Click on theAvailabletab and search forxcode. - Select the
xCode integrationplugin and clickDownload now an install after restart. - Once completed, simply restart the jenkins server through the command line:
brew services restart jenkins-lts
- All done!