Installing Windows 10 for ARM on M1 Macs with Parallels
If you want to test your Windows 10 applications on an ARM system and don't have one available at the moment, the following tutorial might come in handy. Since the new Mac devices have integrated ARM-based processors, Windows 10 for ARM runs in a virtual machine without any problems. And with OakHost, these can even be easily rented in the cloud!
Requirements
A version of Parallels is of course required for virtualization. Either buy a license, or use the free 14 day trial.
Since only an Insider Preview version of Windows 10 for ARM is currently available, you must first register with the Windows Insider Program and download the VHDX image, which contains an already installed version of Windows 10 for ARM. This requires a Microsoft account. Once you are logged in, you can start the download on the following page.
Make sure that "Windows 10 on ARM Insider Preview" is selected. Now you will be offered the "Windows 10 ARM Client" as a download.
Installation
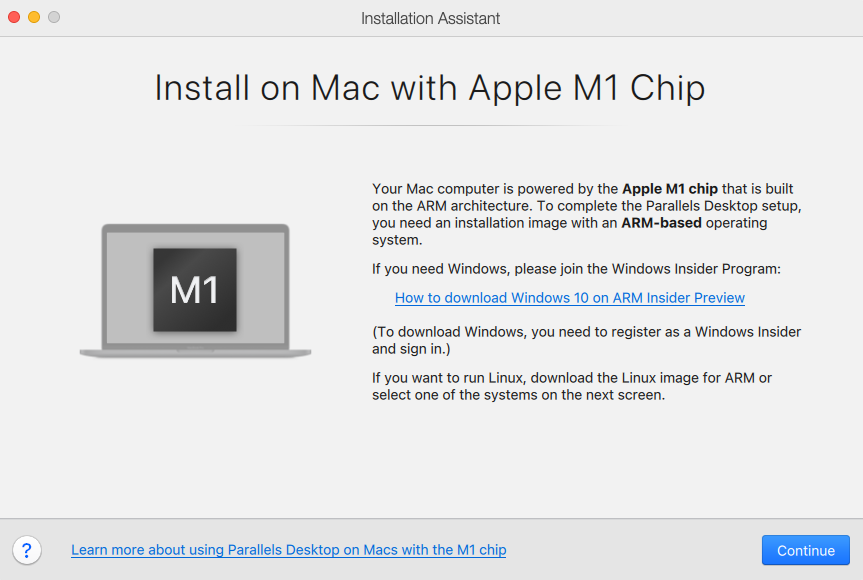
Once the download is complete, follow the Parallels installation instructions by double-clicking the file, or set up a virtual machine as usual if you already have experience with Parallels. It's so simple that you usually won't need any instructions, just follow the Parallels instructions.
For the installation, Parallels already provides you with a link with an instruction video:
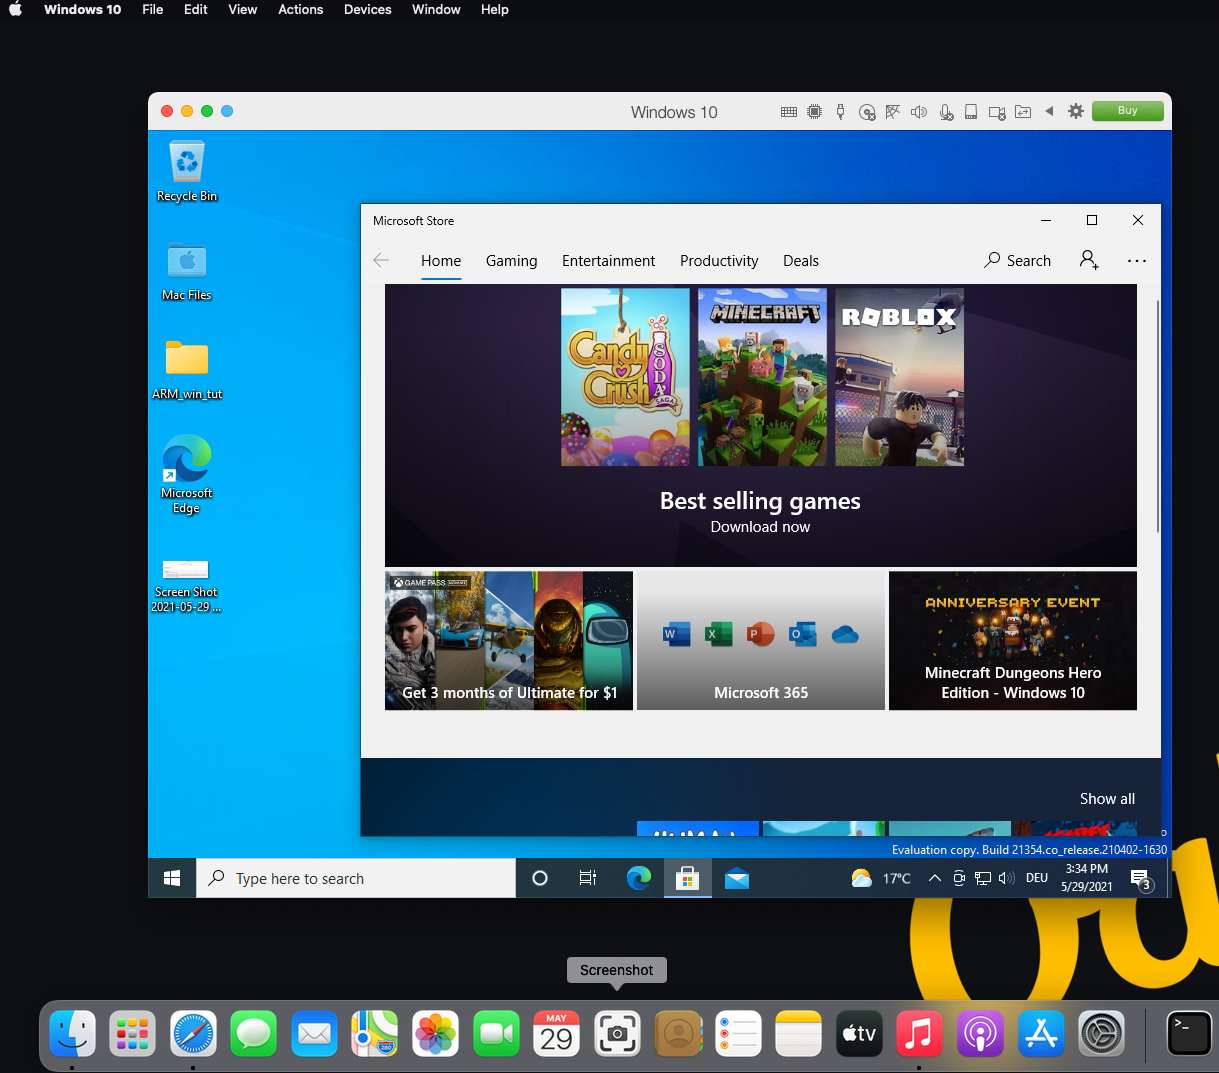
After a few minutes, the virtual machine is ready and we have Windows on ARM on our Mac completely set up: